How to use eBook Converter for Mac
Useful Article
Part 1: How to convert ebook format
Part 2: How to edit ebook metadata
Part 1. How to convert ebook format
Step 1: Install and run the software
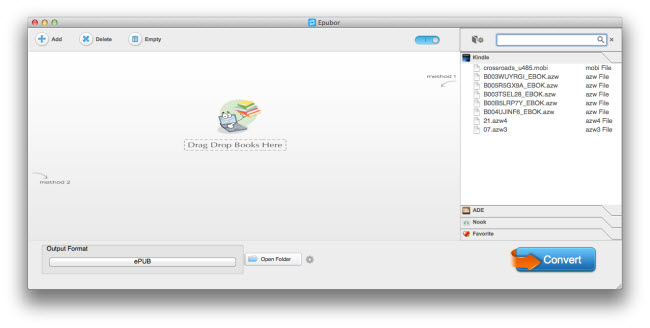
Install and run this software. You will see the following main interface after skipping a lovely instruction page.
Step 2: Add books
You can add books into this tool using three methods:
First one:
Simply drag and drop your books into this tool.
Second one: Hit "Add" button at the top left corner to add books.
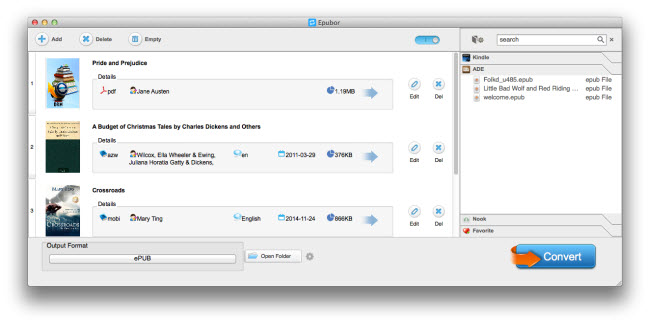
Third one: If you have synced your books via Kindle for Mac for Kindle books, or Adobe Digital Editions for Kobo, Sony ebooks, etc, or Nook for Mac for Nook books, once you launch this tool, the tool will automatically detect your books and display them in the right column. You can directly drag books you intend to convert from right side to left side.
Tips: This tool supports bulk operation, so you can add several books for one time.
Step 3: Select an output format and output folder
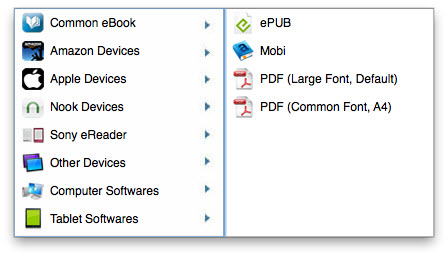
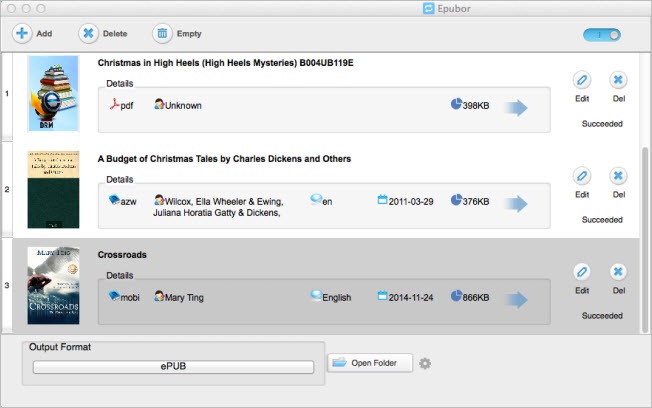
At the bottom left side, choose a common ebook format, EPUB, PDF or Mobi as output format. You can also preset a specific device like Kindle, iPad as the destination format if you like.
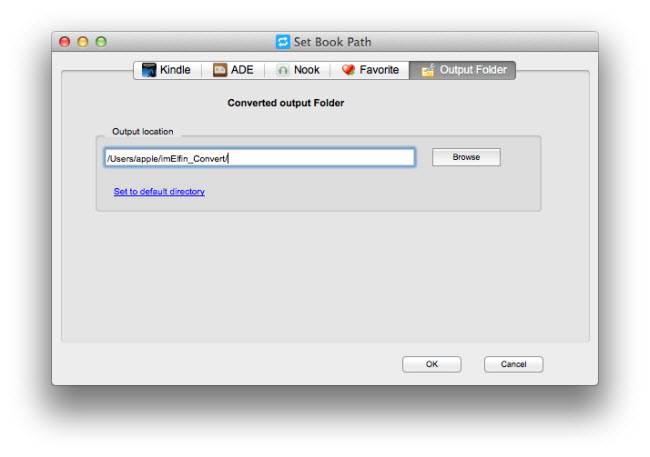
For presetting output folder, click the small and grey settings icon at the top or right beside the "Open Folder".
Step 4: Convert your books
When you're ready, click the Convert button to begin the conversion. If a book has been converted, it will show the word "Succeeded". Tag "Open folder" to get your converted file.
Part 2. How to edit ebook metadata
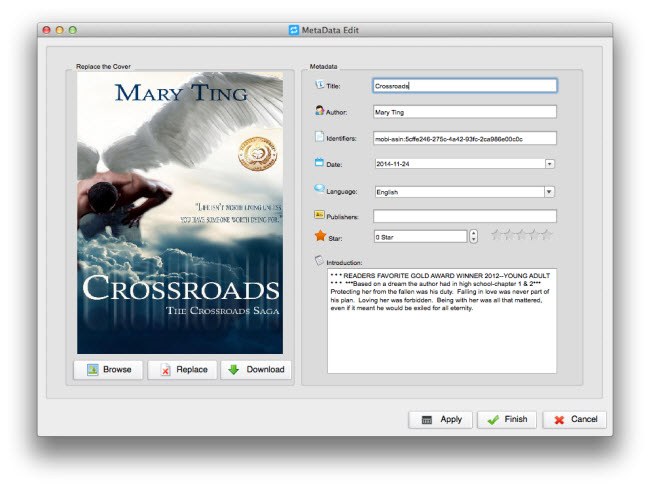
After loading your books into this tool, you can easily find the Eidt tool for each book. click the Edit tool, you will see the below window for you to personalize the cover, title, author, data, etc.
