How to use Video Ultimate for Mac
Useful Article
Part 1: How to convert video and audio
Part 2: How to burn and copy home DVD movies
Part 1. How to convert video and audio
Step 1: Add files
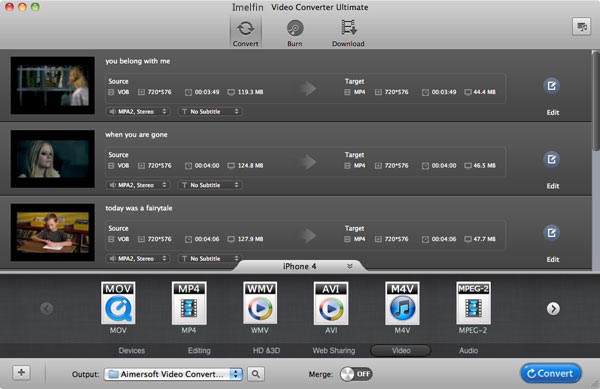
Click the Add Files button to load video or audio files from your computer or other devices like USB device, camcorder, MP4 player, etc. You can also directly drag the files you want to convert to the main interface. Note that batch conversion is supported so you can add as many files as you like at one time.

Step 2: Edit your video or DVD (Optional)
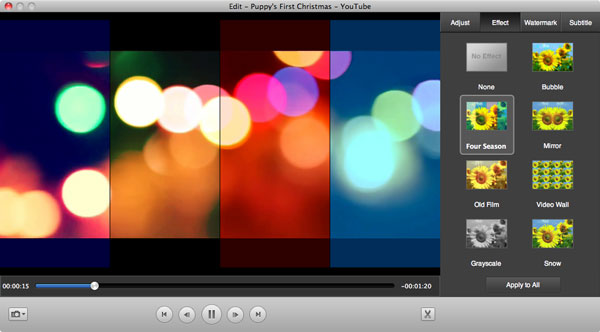
To start edit your photos or videos, just click the edit button, now you can crop, trim, add watermarks, insert subtitles or adjust video effects and more to personalize your DVD.

Step 3: Select an output format
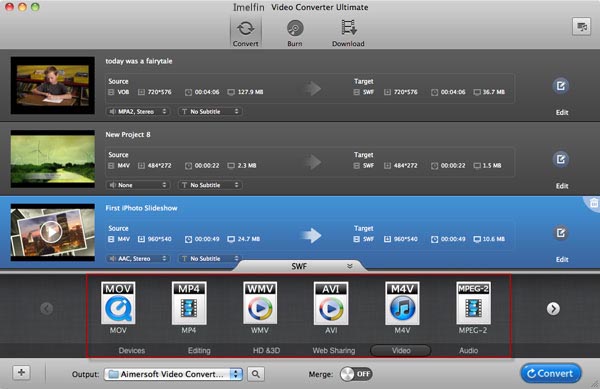
After you finishes the editing and adjusting settings, simply select an output format from the output format list. As you see, there are various output options: Video, Audio, Devices, Editing, HD&3D, etc. Simply browse to select the one you want and click Convert to begin your video conversion.

Part 2. How to burn and copy home DVD movies
Step 1: Load videos
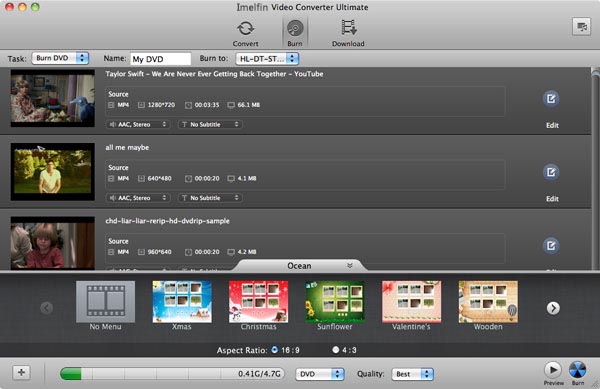
Switch to Burn tab at the main interface to enter the Burn panel. Then load videos or DVD files from your local like iTunes, iMovie, Photo Booth or any other folders, or import the downloaded online videos from your web video download history. In a word, any videos or DVD files that you would like to burn to DVD and view on DVD players can be added in for burning

Step 2: Edit files before burning
Please refer to Edit Video in Part 1 if you would like to do some editing before burning to DVD.

Step 3: Start burning
As you see, some DVD menu templates are provided to make your DVD look more professional. Other settings like DVD aspect ration, quality, name, output types, etc. are all listed on the main interface. Choose the parameters you like and then click Burn to start burning video and DVD files to DVD, DVD folder, ISO or dvdmedia with fast speed and excellent output video quality.

