How to use Video Converter for Mac
Useful Article
Part 1: How to convert video and audio
Part 1. How to convert video and audio
Step 1: Install and run the software
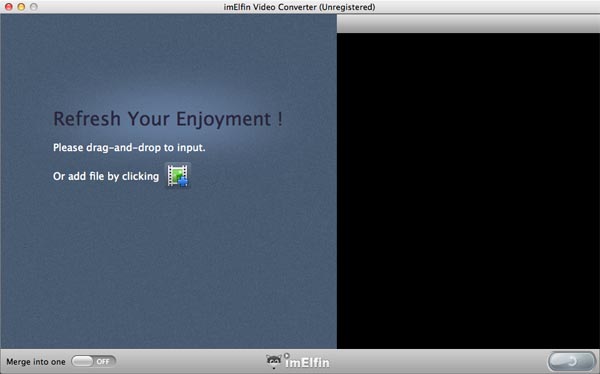
After installation, run the software. You can see the main interface as below.
Step 2: Load videos
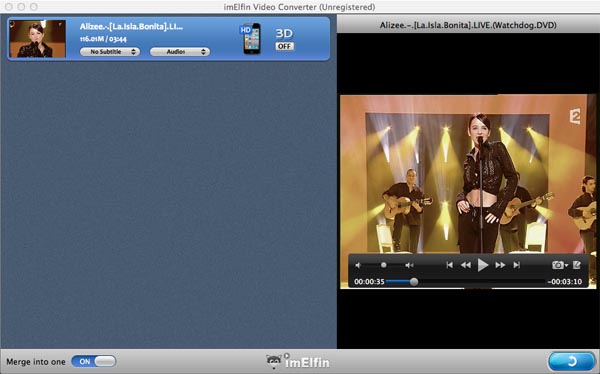
Click the Add Files button to load video or audio files from your computer or other devices like USB device, camcorder, MP4 player, etc. You can also directly drag the files you want to convert to the main interface. Note that batch conversion is supported so you can add as many files as you like at one time.
Step 3: Select an output format
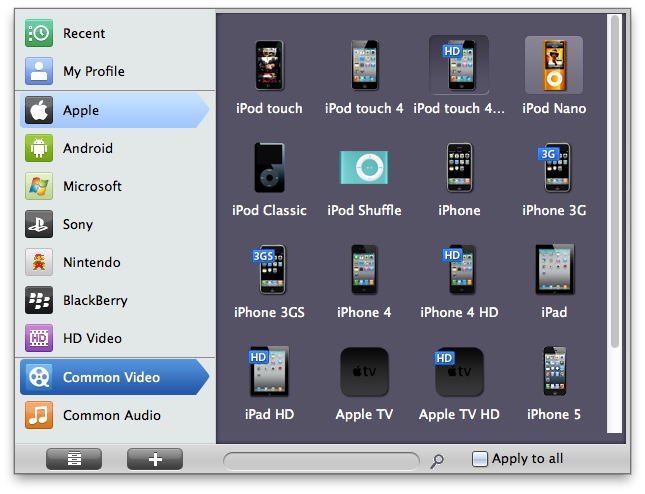
select the format you want from the drop-down list.This software can convert video to various video formats like MP4, MOV, MKV, FLV, AVI, WMV, 3GP, etc. and video presets for portable devices like iPhone, iPad, iPod, Samsung, HTC, PSP, Xbox 360 and more are provided to let you convert videos to fit your devices. You also can click "Settings" to customize the output settings in details.
Step 4: Convert your files
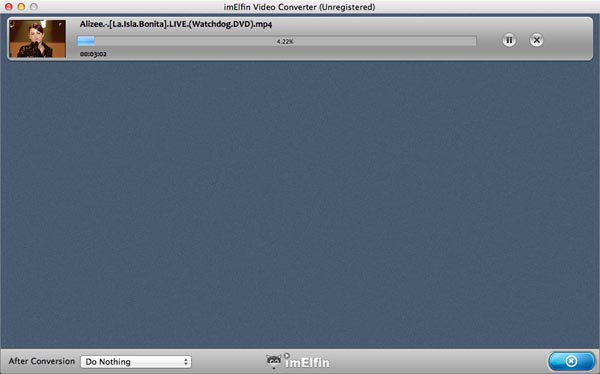
When you're ready, click the Convert button to convert video. While converting videos, you can preview the video and set the actions like shut down computer and open output folder when conversion is completed.
Part 2. How to edit video
Step 1: Convert 2D to 3D
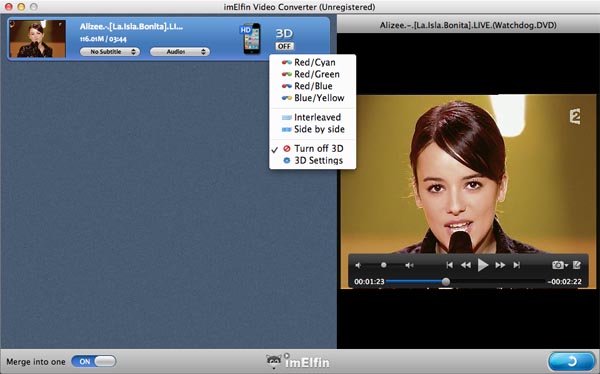
Video Converter supports to convert and burn plain 2D video to 3D with 6 different 3D effects: Red/Cyan, Red/Blue, Red/Green, Blue/Yellow, Interleaved, Side by Side. You can set it as you like.
Step 2: Edit your videos
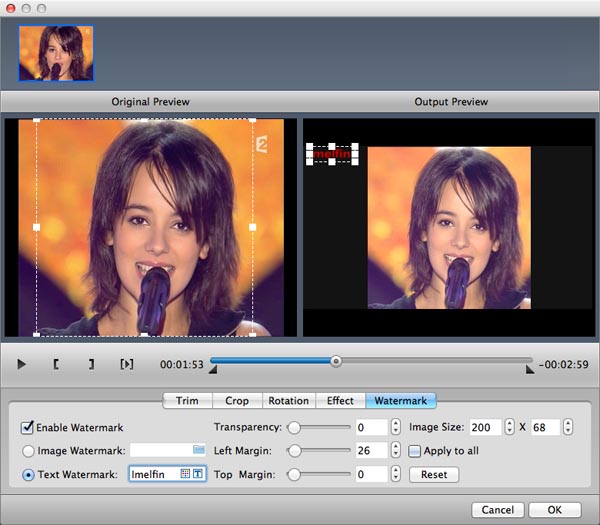
To start edit your photos or videos, just click the edit button, now you can crop, trim, add watermarks, insert subtitles or adjust video effects and more to personalize your DVD.
Step 3: Create Merged Item
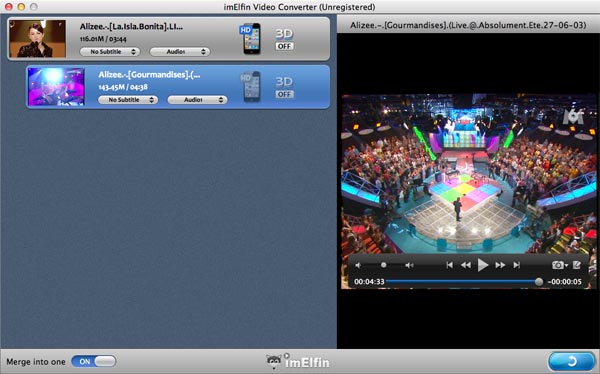
Select multiple files and click "Merge into One" button to create a merged item in the file list.
