How to use iTransfer for Win
Useful Article
Step 1: Link your device to PC
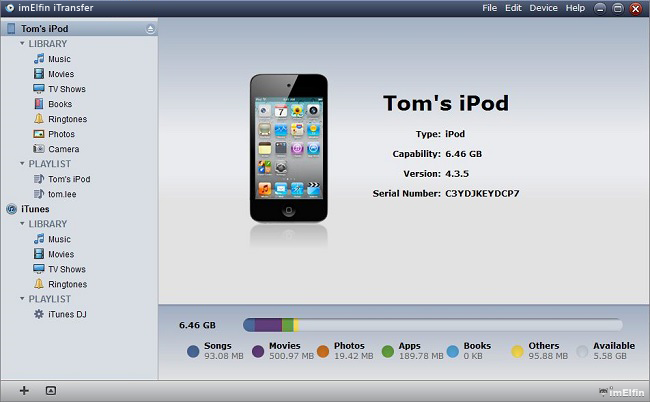
After you launched Imelfin iTransfer for Win, your PC-connected devices can be automatically checked and read by it. You can get into the interface as below if connection succeeded. Recommendation tab, your device and iTunes will show up.

Step 2: Position Target Files
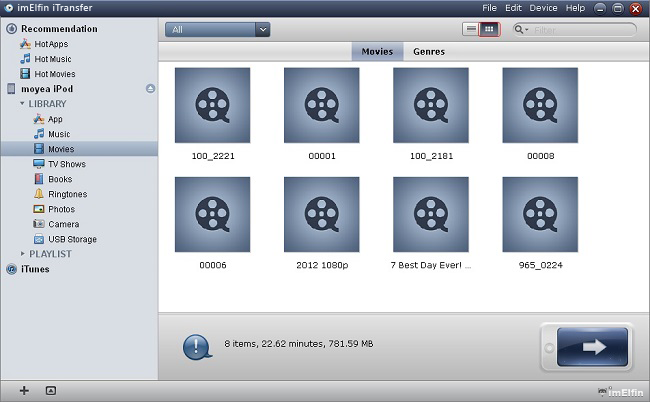
Choose the specific item under one of the options (Recommandation, Device, iTunes) on the left side of the program, head to the details by clicking on it. And then you can start to position target files.


Step 3: Transfer Files
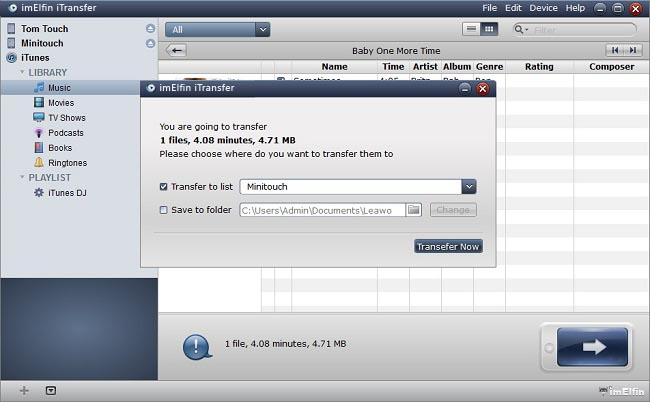
After you have picked up the demanded files, just click on the big Transfer button. In the pop-up window, you can see the destination name in "Transfer to list". In "Save to folder" choose a folder on your PC for local PC backup. Confirm "Transfer now" to transfer files.
Tips: You can also directly drag the files to the devices or right click on the selected media files and choose "Transfer to" for the transferring.

