How to Put Videos from a Phone to a DVD Disc (Mac)
Many times we use our smart phones to take photos or record videos (HD). Follow this tutorial to put videos from your phone to a DVD disc.
Nowadays many phones have awesome cameras, such as iPhone, Samsung Galaxy and HTC One Max, allowing users to record videos in high quality (HD). To backup the good memories (as well as downloaded videos, if available) for good, many people are inclined to copy videos off their phones to computers, external hardware or DVD discs. In this article, I will show you how to put videos from a phone to a DVD disc.
To backup videos from a phone to a DVD, there are two jobs we need to do. The first job is to transfer videos to computer. Different phones require different methods. While transferring video files from an Android mobile is fairly easy, iPhone and WP transfer is a little bit complex. The second job is to burn videos to a DVD disc. Of course, you can also burn videos from your iphone to a Blu-ray as long as you have got BD burning related hardware and software ready.
How to put videos from a phone to a DVD disc
Step 1: Transfer videos from iPhone, Android or WP to computer
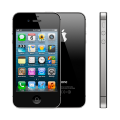 Case 1: Transfer videos from iPhone to computer
iTunes is required when transferring videos from an iOS device to computer. Connect your iPhone to your Mac or Windows via the provided apple USB cord, launch iTunes on your computer, head to iPhone videos, then click "Sync" to transfer videos to your Mac or PC. If you want an easier way to transfer files between iPhone and iTunes, iTransfer utility is probably a great solution.
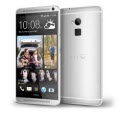 Case 2: Transfer videos from Android to computer
Plug your Android phone into computer via the USB cord, find the recorded video folder (typically under "DCIM" -> "100MEDIA") and drag & drop the video files to your Mac or Windows local drive directly.
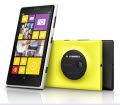 Case 3: Transfer videos from WP to computer
While Windows Phone 7 users have to use Microsoft SkyDrive or Zune (very bulky) and Mac users have to install Windows Phone app for Mac to transfer videos, WP 8 (7.5) and PC users can use both Window File Explorer and Windows Phone app for desktop. Follow this tutorial to get your videos off Windows Phone to your computer.
Step 2: Burn videos to DVD
Here are the tools you will need:
1. DVD burner (hardware);
2. DVD burner (software);
3. A blank DVD (DVD-R, DVD-RW) disc. Choose DVD5 (4.7 G) or DVD9 (8.5 G) as per the video size
Despite of the free DVD burner software, I recommend you to use imElfin DVD creator, which is interface-friendly, easy to use and supports videos in different formats.
Now let's start to convert videos from a phone to a DVD disc.
Download imElfin DVD Creator below.
1. Launch imElfin DVD Creator. Load videos from your Mac or PC.
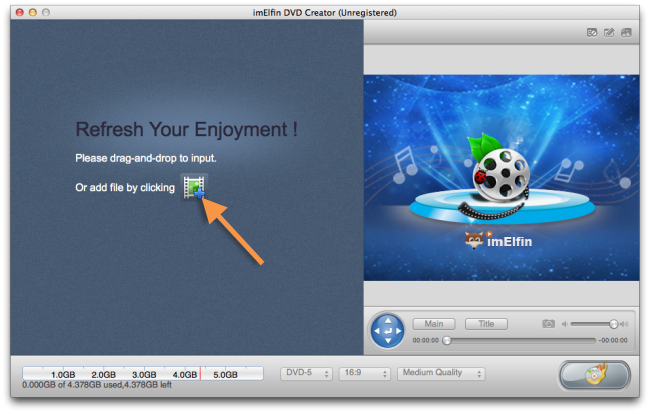
Click the add button or directly drag&drop to load videos to the DVD burning program.
2. Edit videos and set the DVD menu.
![]()
Click the DVD template button in the top right corner to set style, menu, buttons, chapters, captions, etc. for your DVD.

Also, you can edit the videos (trim, crop, rotate, transition effects, watermark, etc.) or add 3D effects to the output DVD.
More about how to burn DVD with imElfin DVD Creator.
3. Insert a DVD disc and burn.
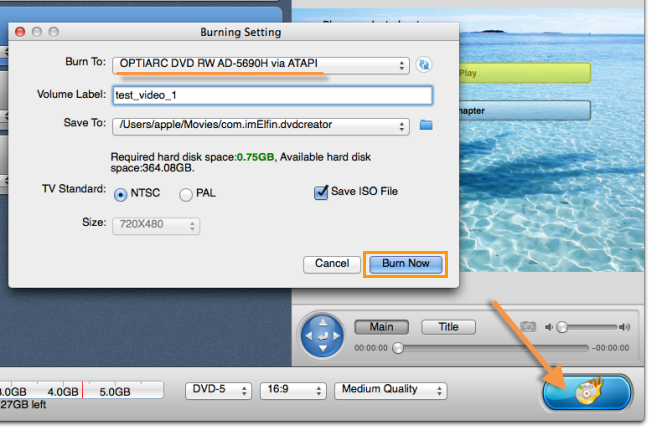
Insert a blank DVD disc, then click the burn button in the bottom right corner. On the popping setting window, choose the "Burn to" as your DVD hard drive and fill in other fields. Keep the "TV Standard" as default (how to decide on NTSC and PAL). Then click "Burn Now" button.
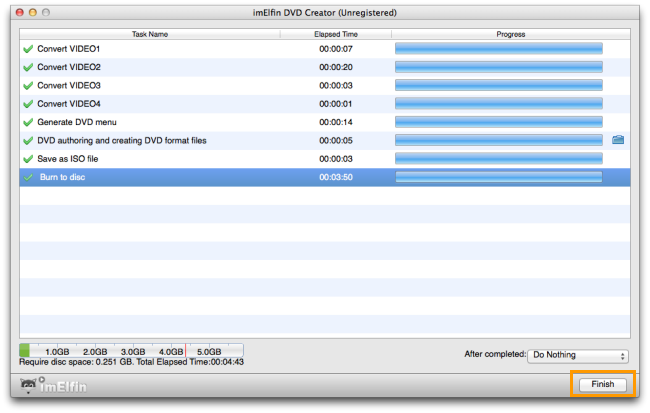
The burning process may take quite a while, which depends on the video size. When the burning is finished, click "Finish", the disc will be ejected from your Mac or PC. Insert it again and check it out.
Burn videos from iPhone (phone) to a BD
Blu-ray drive does not come along with Mac (or PC). To put videos from iPhone or Android, WP, BB to Blu-ray discs, you have to prepare an external Blu-ray drive and a Blu-ray creator program. Similarly, you can burn videos to BD by using imElfin Blu-ray Creator.


