How to use Blu-ray Creator for Win
Useful Article
Part 2: How to edit your Blu-ray movies
Part 1: How to burn Blu-ray
Now you can burn downloaded Blu-ray movies for playback on HDTV or mobile DVD players. Here are some easy steps to burn any video (including HD video) in AVI, MKV, WMV, MP4 and more to DVD disc.
Step 1: Load video files
When you finish the installation, open the Blu-ray Creator. Click the "Add Video Files" button to add the videos or just drag and drop the videos directly into the main interface for further operation.

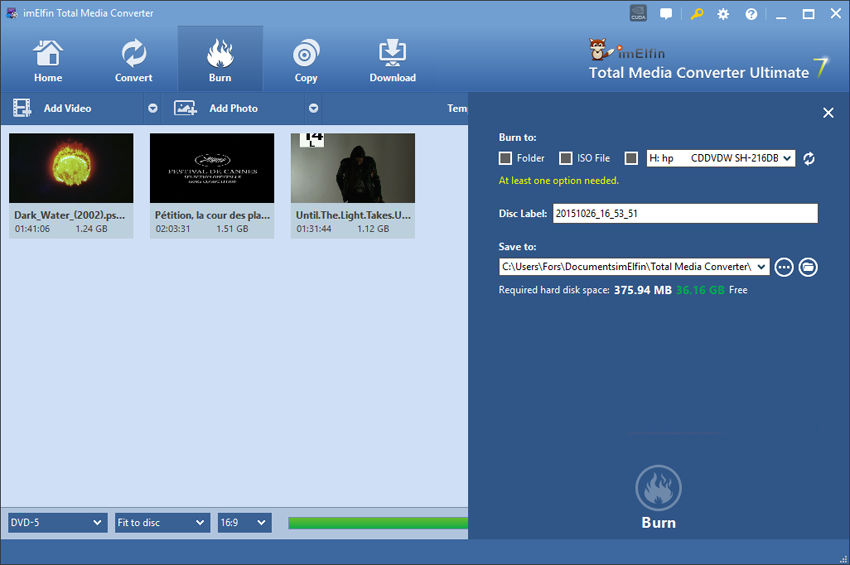
Step 2: Complete Burning Settings task
Choose to burn to DVD-5/DVD-9/BD-25/BD-50, and set aspect ratio as 4:3 or 16:9 (when burning to Blu-ray, only 16:9 is available), and select quality in "Fit to disc" at the bottom of the main program interface. Space needed for Blu-ray or DVD burning can be accessed. Click the big green "Burn" button on the top right corner to invoke more burning settings, including Burn to, Disc Label, Save to, etc.
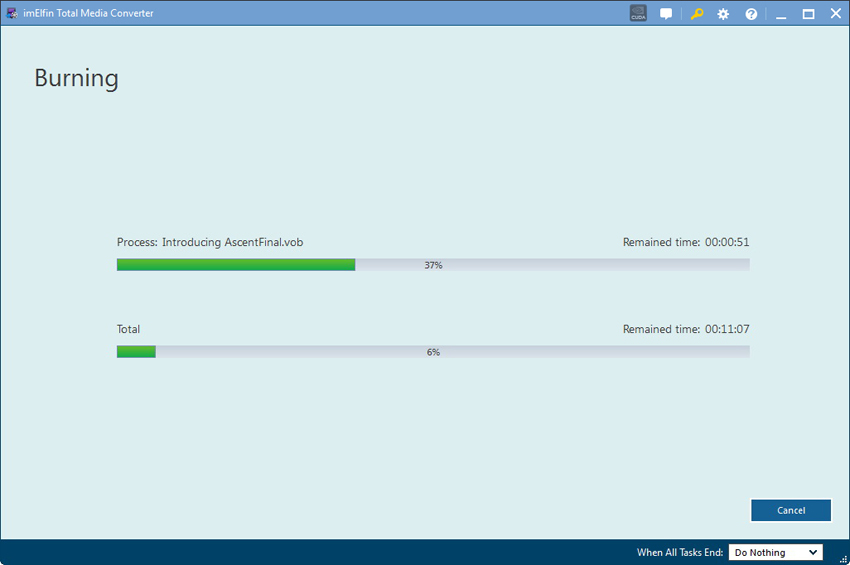
Step 3: Start burning
When everything is ready, click "Burn" to choose the output file format and location. After all things have done, press "Start" and it will start burning Blu-ray DVDs for you.
Part 2: How to edit your Blu-ray movies
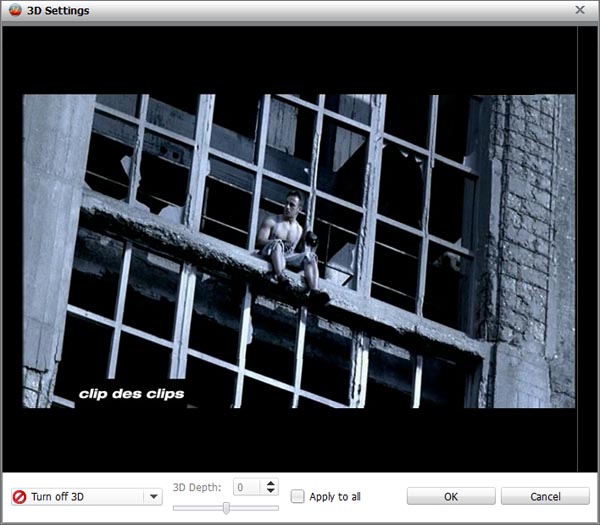
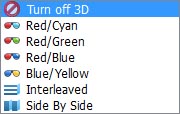
Step 1: Convert 2D to 3D
Blu-ray creator supports to convert and burn plain 2D video to 3D with 6 different 3D effects: Red/Cyan, Red/Blue, Red/Green, Blue/Yellow, Interleaved, Side by Side. You can set it as you like.
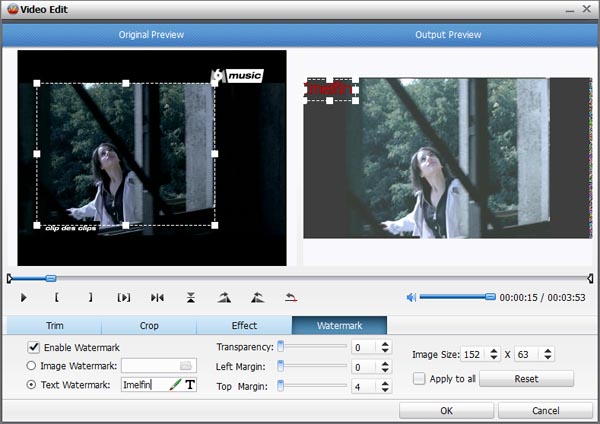
Step 2: Edit video and photo slideshows (optional)
To start edit your photos or videos, just click the edit button located next to each file to bring up the editing window. Now you can crop, trim, add watermarks, insert subtitles or adjust video effects and more to personalize your Blu-ray movies.