How to use iTransfer for Mac
Useful Article
Part 1: How to Use iTransfer for Mac
Part 2: Back up iOS devices content to iTunes/Mac
Part 1: How to Use iTransfer for Mac
You can transfer video and audio files in all popular formats like AVI, WMV, FLV, AVCHD, MP4, MOV etc. to your iPhone, iPod or iPad; even convert home DVD to iPhone or other iOS devices for playback on the move:
Step 1: Link Devices to PC
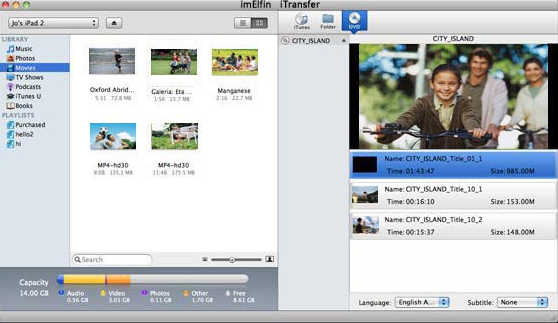
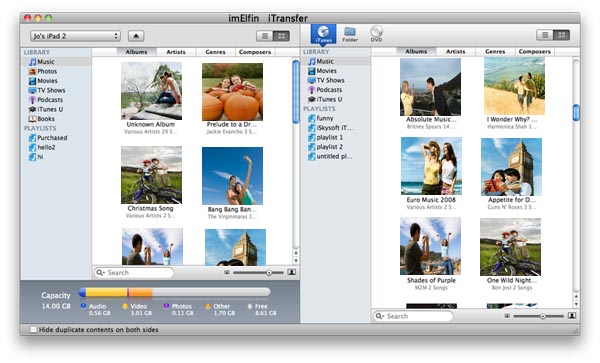
Download iTransfer for Mac, install and launch it.Then you will see the interface below.After that, you will see: files in your iPhone, iPod or iPad are listed on the left, while those in your iTunes, your local files, or your DVD files are listed on the right of the interface.

Step 2: Select the media files on your Mac
Find your media files on your Mac by clicking the "Folder" icon or "iTunes" icon, or insert your DVD to Mac then hit on "DVD" icon on the right part of the TransPod for Mac interface:

Step 3: Start transferring media files from Mac to iPhone/iPod/iPad
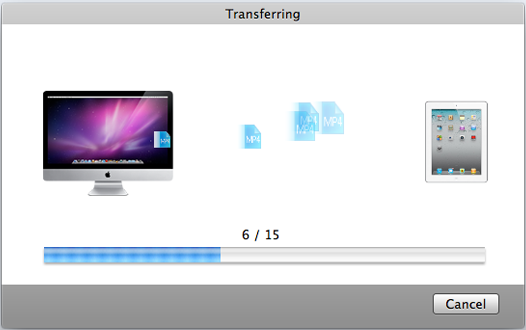
Now you just need to drag and drop the items selected (including music, video files, DVD movie, photos, ebooks and more) left-forward to your iOS device.
Tips: If you are about to transfer AVI video or other incompatible files to your iOS device, you can get video to iOS device conversion which is conducted just during the dragging. And you can set your conversion quality and speed to your own taste by the "Preference" Menu, or set to transfer standard definition version if applicable.

Part 2: Back up iOS devices content to iTunes/Mac
The iTransfer for Mac allows you to deal with all kinds of media files in your iPhone, iPad or iPod, such as music, movie, TV show, photo, e-book, audio book even playlist.
Step 1: Choose the items on your iPhone, iPod or iPad
Click iTunes icon or Folder icon on the right side of the main interface, for example, if you wanna back up the music, movies or photos on your Mac, then you can choose any folder in the computer by clicking the "Folder" icon; and if you wanna rebuild the iTunes library, then just hit on "iTunes" icon:

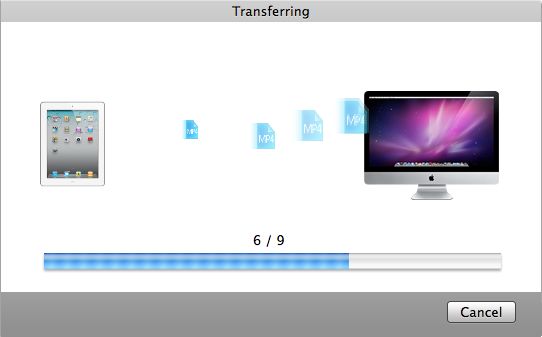
Step 2: Drag the selected items from device to iTunes/Mac
After the file selection, you can drag the item(s) on the left part over to the right part.


